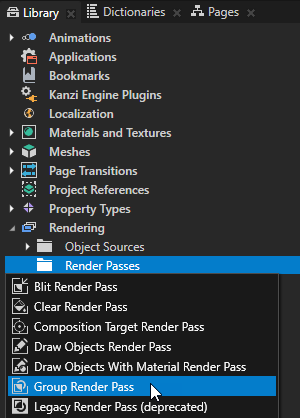
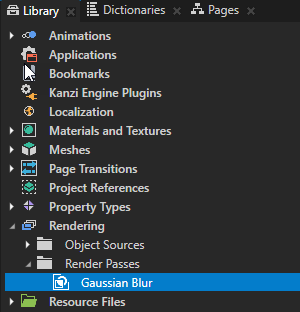
Group Render Pass allows you to collect render passes so that you can refer to a single render pass in your Scene or Viewport 2D node.
You use this render pass to gather several render passes you create in this procedure which, when combined, create the blur effect.
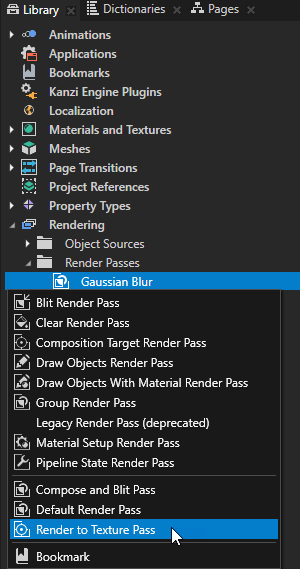
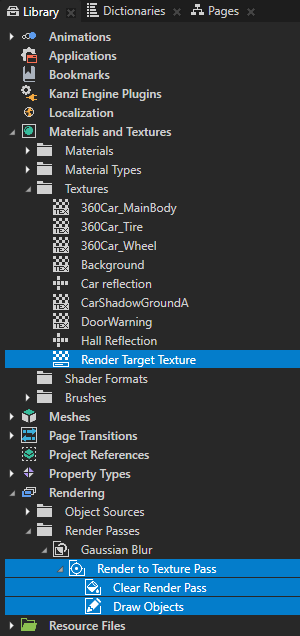
Render to Texture Pass creates the render passes and texture you need to render to a texture.
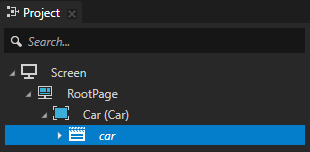
You use this render pass to render the car Scene node to a texture.
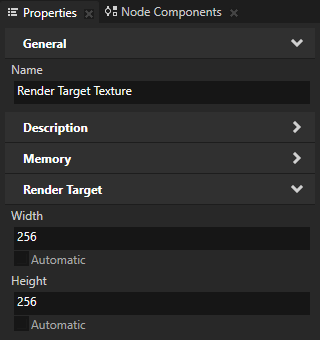
- Width to 256
- Height to 256
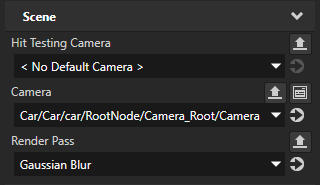
Kanzi Studio renders the car Scene node using the Gaussian Blur render pass. The Gaussian Blur render pass renders the car Scene node to the Render Target Texture, which is why the Preview does not show any content.
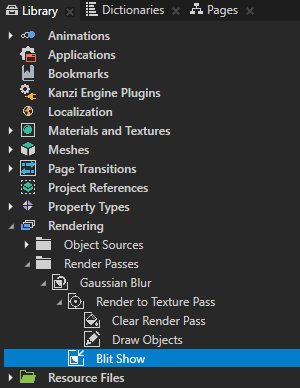
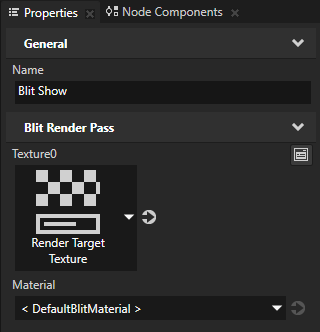
Blit Render Pass blits one or more render passes or textures on the screen using a specific material.
You use this render pass to draw on the screen the Render Target Texture.
Kanzi renders the car in poor quality because the size of the Render Target Texture texture is only 256 by 256 pixels.
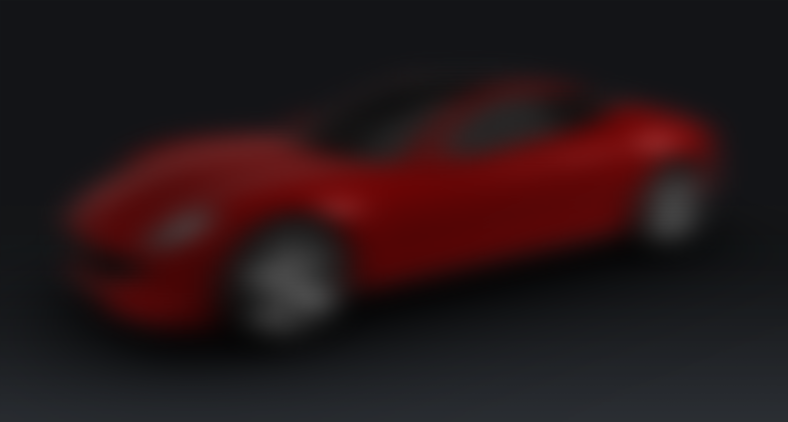
You use this render pass to apply the directional Gaussian blur effect. Later in this procedure you apply the same effect again to make the blur effect stronger.
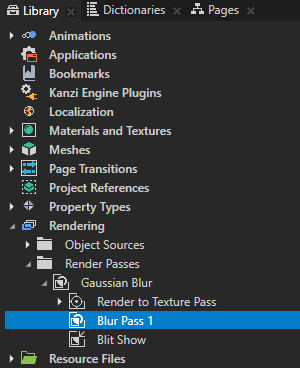
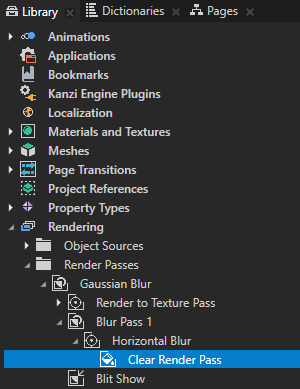
- In the Library > Rendering > Render Passes > Gaussian Blur > Blur Pass 1 create a Composition Target Render Pass and name it Horizontal Blur.
You use this render pass to apply the blur effect in the horizontal direction.
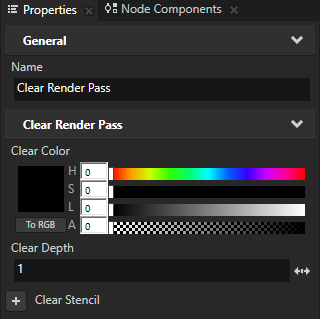
- In the Horizontal Blur render pass create a Clear Render Pass, in the Properties add the Clear Color property, and set:
- Lightness (L) to 0
- Alpha (A) to 0
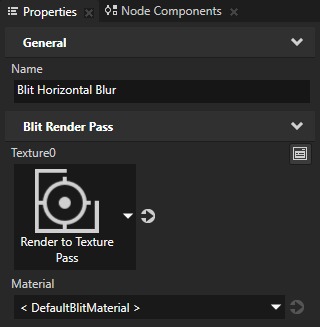
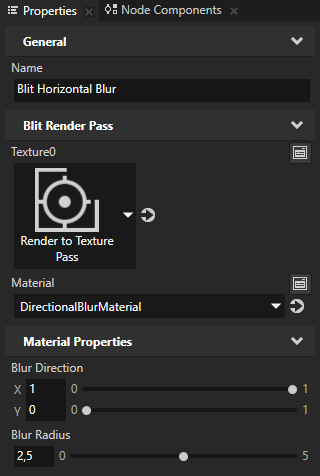
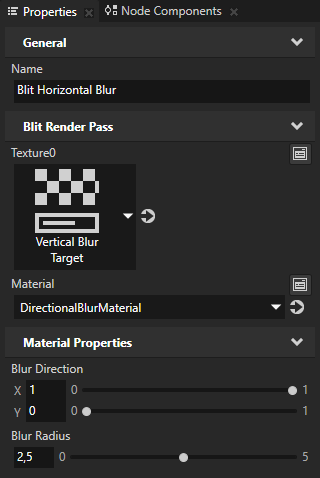
- In the Horizontal Blur render pass create a Blit Render Pass, name it Blit Horizontal Blur, and in the Properties set the Texture0 property to the Render to Texture Pass render pass.
You use this render pass to draw to the screen the Render to Texture Pass render pass, which renders the car node.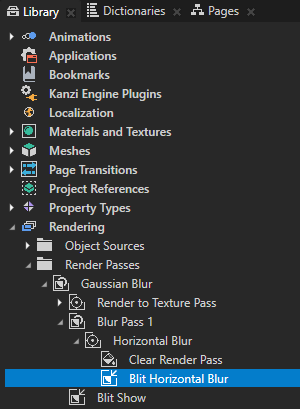
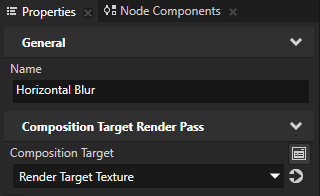
- In the Library select the Horizontal Blur render pass, in the Properties add the Composition Target property, and set it to the Render Target Texture texture.
You use this render pass to render the Render to Texture Pass to the Render Target Texture resource.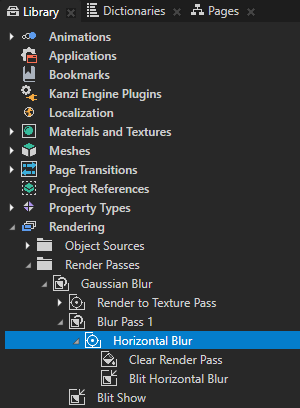
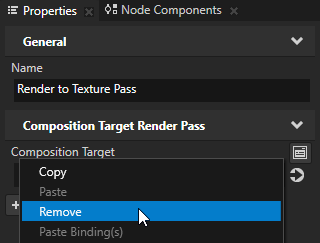
- In the Library select the Render to Texture Pass, in the Properties right-click the Composition Target property, and select Remove.
You remove this property because the Blit Horizontal Blur render pass draws the Render to Texture Pass, and the Horizontal Blur renders the Blit Horizontal Blur render pass to the Render Target Texture.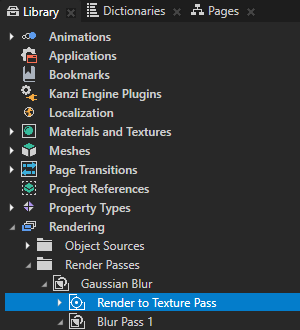
- In the Library select the Blit Horizontal Blur render pass, and in the Properties add and set:
- Material to DirectionalBlurMaterial
- Blur Direction X property field to 1
This way you apply the blur effect in the horizontal direction. - Blur Radius to 2,5
This way you set the strength of the blur effect.

- In the Library > Materials and Textures > Textures select Render Target Texture, press the F2 key and rename the texture to Vertical Blur Target.

- In the Library > Materials and Textures > Textures select Vertical Blur Target, press the Ctrl D to duplicate the resource, press the F2 key, and rename the texture to Horizontal Blur Target.
You create two render target textures to render the car node with the horizontal blur effect to the Horizontal Blur Target texture and use this texture as an input for another render pass. This render pass applies the blur effect in the vertical direction and renders the output to the Vertical Blur Target texture. You use the Blit Show render pass to draw the final blurred Vertical Blur Target texture to the screen. 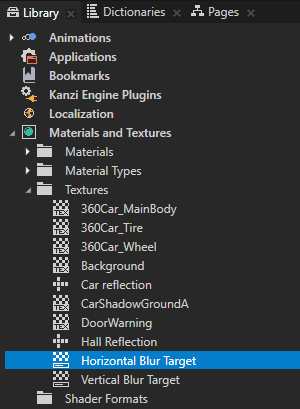
- In the Library > Rendering > Render Passes duplicate the Blur Pass 1 > Horizontal Blur render pass and rename it to Vertical Blur.
You use this render pass to apply to the car node the blur effect in the vertical direction. 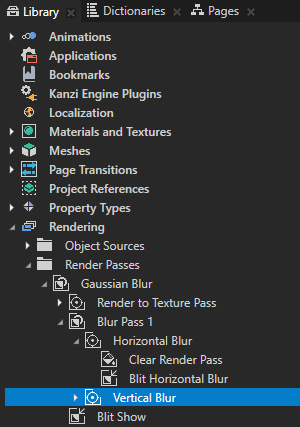
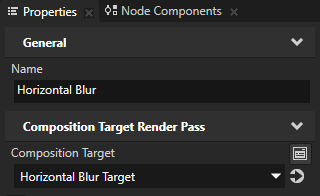
- In the Library select the Horizontal Blur render pass and in the Properties set the Composition Target property to Horizontal Blur Target.
You render the Horizontal Blur render pass to the Horizontal Blur Target texture so that the Vertical Blur render pass can take the Horizontal Blur Target texture, apply the blur effect in the vertical direction, and render the result to the Vertical Blur Target texture.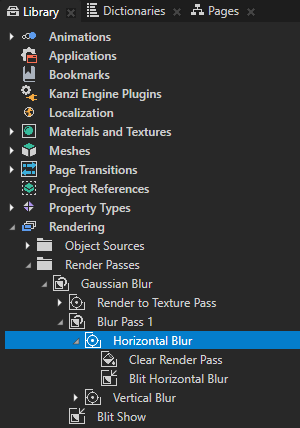
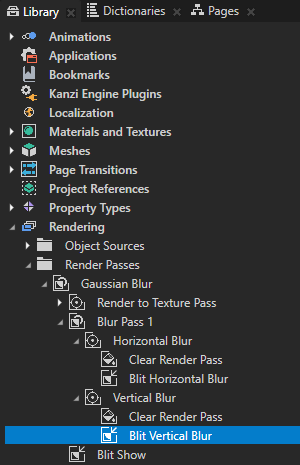
- In the Library select the Vertical Blur > Blit Horizontal Blur render pass and in the Properties set:
- Name to Blit Vertical Blur
- Texture0 to Horizontal Blur Target
- Blur Direction X property field to 0
- Blur Direction Y property field to 1
This way you apply the blur effect in the vertical direction.

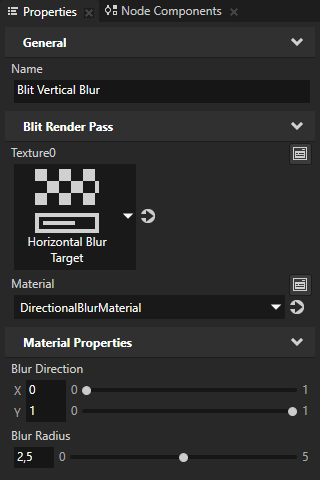

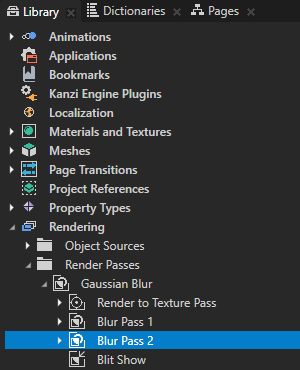
- In the Library duplicate the Blur Pass 1 render pass, rename it to Blur Pass 2, and drag it above the Blit Show render pass.
You use this render pass to apply the blur effect again to the already blurred car node to make the blur effect stronger.
- In the Library select the Blur Pass 2 > Horizontal Blur > Blit Horizontal Blur render pass and in the Properties set the Texture0 property to the Vertical Blur Target texture.
You make the Blur Pass 2 render pass take as its input the already blurred Vertical Blur Target resource instead of the Render to Texture Pass render pass which renders the car node normally.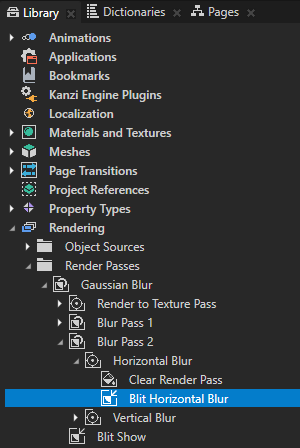
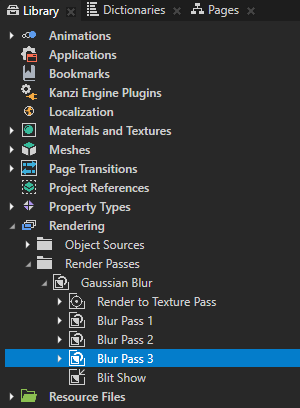
- In the Library duplicate the Blur Pass 2 render pass, rename it to Blur Pass 3, and drag it above the Blit Show render pass.
You apply the directional blur effect a third time to make it even stronger.